Manufacturer of photovoltaic sunroom models
1:10 Scale Photovoltaic Sunroom Model Construction Process Documentation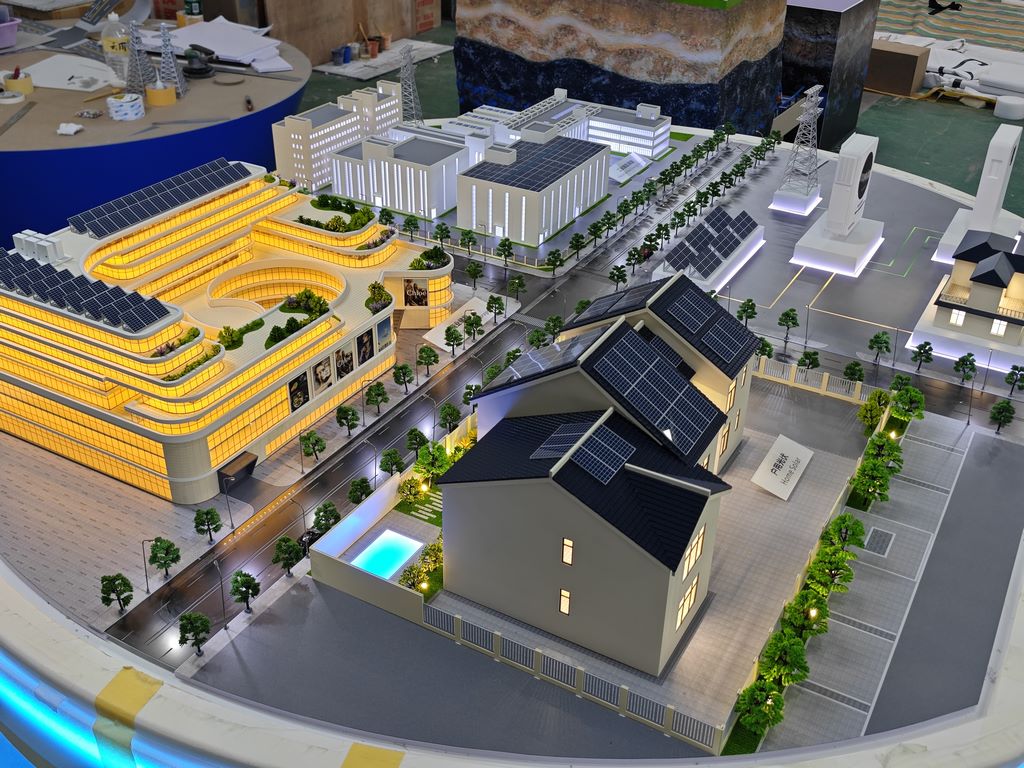
I. Frame Construction Phase
Aluminium profiles are used as the main frame, with laser cutting ensuring ±0.1mm precision for columns and beams. Key innovations include:
Using micro-tenon joints to connect nodes, replacing traditional adhesive bonding methods
Incorporating magnetic suction devices (1.5mm diameter neodymium magnets) at corners for seamless assembly and disassembly
Surface treatment of beams and columns with sandblasting to create a realistic metallic oxide layer texture
II. Photovoltaic Component Simulation
Innovative use of a three-layer composite process:
Bottom layer: 0.3mm acrylic sheet laser-engraved with solar cell patterns
Middle layer: Gradient blue PET film simulating coated reflective properties
Top layer: UV-printed grid line patterns (line width 0.05mm) Each ‘solar panel’ (30mm × 60mm) has intentionally retained small laser-cut burrs along the edges to simulate industrial cutting marks
III. Architectural Detail Reproduction
Drainage system: 2mm diameter copper tubes bent, with welded joints manually created to mimic welded protrusions
Glass curtain wall: Mobile phone screen protector waste material cut and laminated, retaining the original factory's oleophobic layer reflective properties
Sealant strips: Applied using a toothpick dipped in elastic silicone, curing to achieve a realistic squeezed deformation state
4. Aging and Scenic Treatment
Directional aging: Apply a saltwater solution (salt + white vinegar mixture) to the northwest-facing frame to create natural oxidation spots
Operational traces: Use a 000-grade face brush to paint bird droppings on the photovoltaic panel surface (acrylic + plaster powder mixture)
Environmental integration: Embed real moss fragments into the base and combine with a miniature drone model (scale 1:10) to create a maintenance site


