Sand Table Model Making Guide
Professional-Grade Terrain Sand Table Construction Guide
I. Data Preparation Stage
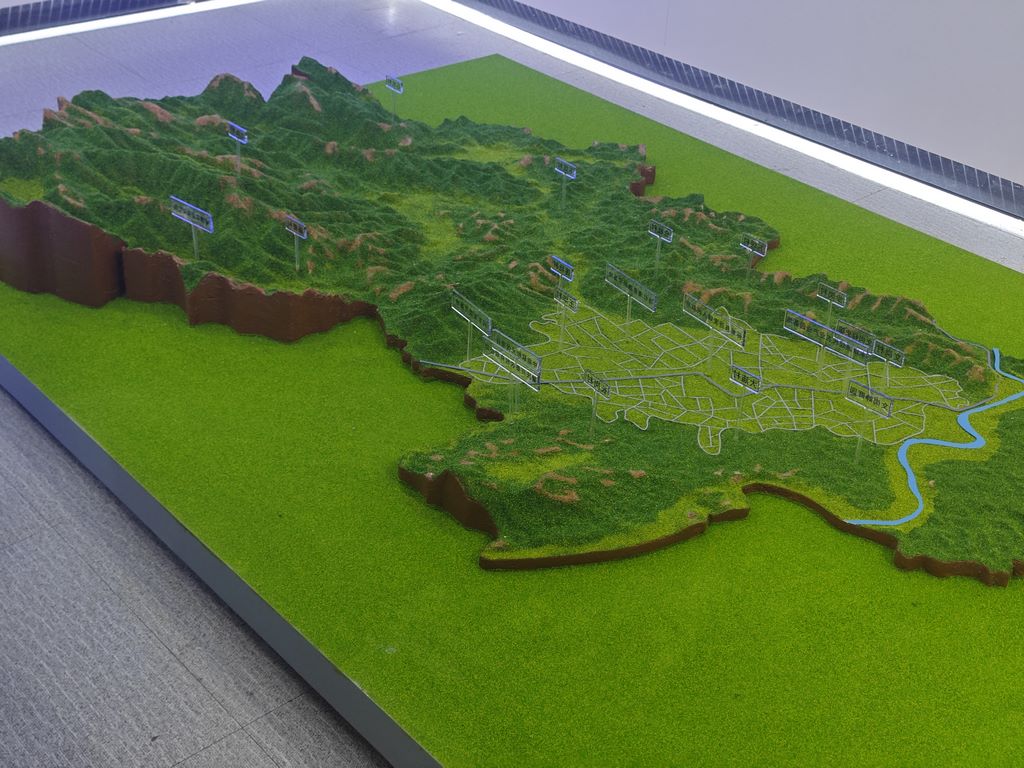
Terrain Data Collection:
Use drone aerial surveying to obtain 0.5-meter resolution surface data
Perform 3D laser scanning of special geological structures
Divide the digital elevation model into printable modules
Digital Model Optimization:
Use mesh repair software to process scanning noise
Sharpen the edges of features such as cliffs and steep slopes
Design hidden joint slots
II. Printing Material Plan
Base Terrain:
Use gray resin containing basalt powder for the bedrock layer
Use brown-toned resin mixed with wood fibers for the soil layer
Select transparent blue light-curing resin for water areas
Special Treatment:
Add nano-reinforcing agents to steep slope areas
Pre-embed optical fiber light guides at the bottom of rivers
Micro-planting holes reserved in vegetation areas
III. Precision Printing Process
Layered printing strategy:
Vertical direction: color-separated printing according to geological strata
Horizontal direction: radial support layout
Key topographical features: separate close-up slicing
Process quality control:
Dimension verification every 5 cm in height
Special structures: secondary exposure curing
Printing chamber maintained at constant temperature and humidity
4. Post-processing techniques
Surface refinement:
Micro-carving tools used to restore gully details
Sandblasting to create rock texture
Magnetic polishing machine for water surface planes
Ecological Implantation:
Distribute moss communities according to vertical zonation patterns
Use electrostatic flocking technology to create grasslands
Micro-tree species are produced using laser cutting technology
Professional Coating:
Rock layers use mineral pigment dry-brushing technique
Water bodies use gradient airbrushing
Artificial trace areas undergo aging treatment


