Architectural Model Mold Making Process
Introduction
Some architectural model components are too complex to make one by one.
Ornate columns, repetitive roofline details, identical window frames, and multiple trees.
Making each piece individually is slow and inconsistent.
Mold making solves this problem.
You create a master, pour a mold, and cast multiple identical copies.
That is theArchitectural Model Mold Making Process.
This guide explains how professionals create molds.
What materials and techniques are used.
And how to integrate molded components into larger sand table models.
Let us begin.
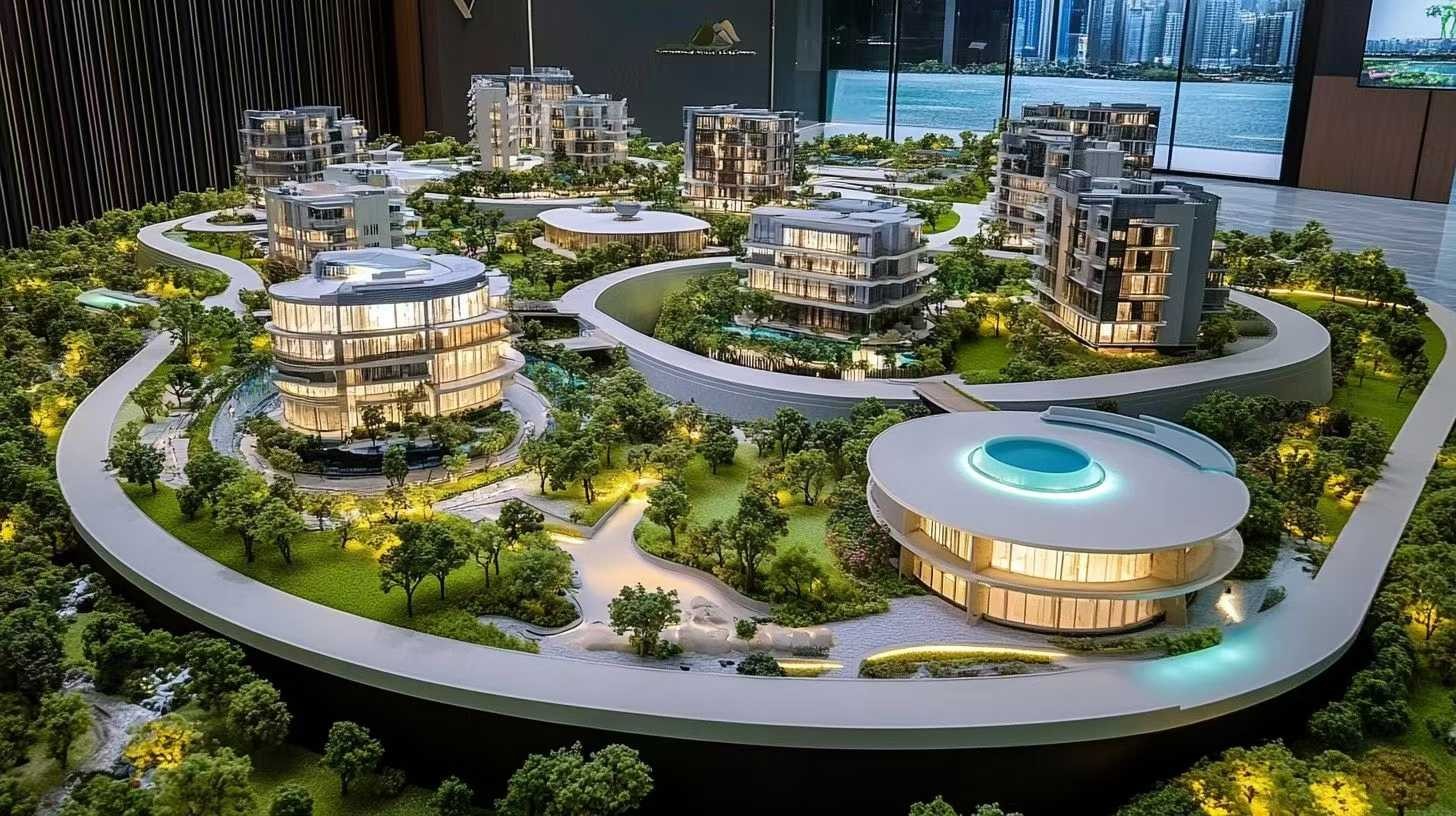
What Is the Architectural Model Mold Making Process?
It is the procedure of creating a negative impression (mold) of a master pattern.
That mold is then used to cast multiple identical positive copies.
TheArchitectural Model Mold Making Processinvolves:
Master creation– Hand‑carving, 3D printing, or machining the original part.
Mold fabrication– Pouring silicone, polyurethane, or plaster around the master.
Casting– Filling the mold with resin, plaster, or polyurethane to produce copies.
Finishing– Trimming, painting, and detailing the cast parts.
Mold making is essential for batch production of repetitive architectural features.
When to Use Mold Making in Sand Table Models
Ornate Architectural Details
Columns, cornices, balusters, and decorative moldings are time‑consuming to carve individually.
A silicone mold reproduces them perfectly and repeatedly.
Repetitive Landscape Elements
Trees, boulders, fences, and lamp posts – cast multiple copies from a single master.
Standardised Building Components
Identical windows, doors, roof tiles, and cladding panels for multi‑unit housing or commercial blocks.
Miniature Vehicles and Figures
ForCustom Miniature Car For Sand Table Modelproduction, molds enable batch casting of identical vehicle bodies.
Once the master car is perfected, you can cast 20 or 50 copies with consistent quality.
Prototyping and Pre‑production
DuringArchitectural Model Prototype Development, molds allow you to test different materials or colours without remaking the master each time.
Types of Molds for Architectural Models
Silicone Rubber Molds (Most Common)
Silicone is the go‑to material for architectural model makers.
Properties:
Flexible – releases undercuts without tearing.
Heat‑resistant (up to 200°C) – works with low‑melt metals as well as resin.
Non‑stick – no release agent needed for most casting materials.
Long life – a good silicone mold can produce 50–100 casts.
Applications:Ornate details, repetitive parts, figures, vehicles, and any component with undercuts.
Polyurethane (PU) Rubber Molds
PU rubber is harder than silicone and less flexible.
Properties:
Dimensional stability – excellent for parts that must match precisely.
Abrasion‑resistant – longer life for high‑volume casting.
Requires release agent – parts may stick without it.
Applications:Flat panels, roof tiles, cladding sheets – components without deep undercuts.
Epoxy Resin Molds (Hard Molds)
Epoxy molds are rigid and durable.
Properties:
Extremely hard – will not distort under pressure.
Requires release agent.
Difficult to demould undercuts – best for parts that are flat or have simple draft angles.
Applications:Flat panels, nameplates, base plates – components with no complex geometry.
Plaster Molds (Traditional)
Plaster is the oldest mold material.
Properties:
Cheap and absorbent – works with clay casting.
Single‑use or limited life – breaks down after a few casts.
No undercuts – demoulding breaks the mold.
Applications:Terrain masters, single‑use casting, educational settings.
The Complete Mold Making Workflow
Step 1 – Master Pattern Preparation
The master is the original part you want to copy.
It must be perfectly finished – any flaw will be reproduced in every cast.
Masters can be:
Hand‑carved from wax, clay, or foam.
3D printed in resin or PLA.
Machined from ABS or acrylic.
An existing cast part that has been refined.
ForSand Table Model Exhibition Layout Design, masters for repetitive elements (streetlights, park benches, trash cans) are created during the prototype phase.
Step 2 – Mold Box Construction
A mold box surrounds the master and contains the liquid mold material.
It can be built from Lego bricks, acrylic sheet, or foam board.
The box should be 1–2cm larger than the master on all sides.
Step 3 – Applying Release Agent (If Needed)
For silicone molds, release agent is rarely required.
For polyurethane and epoxy molds, spray or brush on a thin layer of release agent.
Step 4 – Pouring the Mold Material
Mix the mold material according to the manufacturer’s instructions.
Pour slowly from a low height to minimise air bubbles.
For silicone, pour in a thin stream from one corner, allowing the liquid to flow around the master.
Degas the mixture in a vacuum chamber if high precision is required (for jewellery‑grade detail).
Step 5 – Curing
Let the mold cure undisturbed.
Silicone takes 4–24 hours depending on thickness.
Polyurethane and epoxy cure faster – 30 minutes to 2 hours.
Step 6 – Demoulding
Carefully remove the mold box.
Peel the mold away from the master (for silicone) or separate the two halves (for two‑part molds).
Inspect the mold for bubbles or defects.
Step 7 – Casting the Parts
Mix the casting material (resin, plaster, polyurethane).
Pour into the mold cavity.
For silicone molds, the material self‑levels.
For hard molds, tilt to distribute the material.
Step 8 – Demoulding Cast Parts
Once the cast material cures, remove the part from the mold.
Silicone molds release easily; hard molds may require careful prying.
Step 9 – Finishing
Trim flash (excess material) with a sharp knife.
Sand any rough edges.
Prime and paint to match the model’s colour scheme.
Materials for Casting
| Material | Use | Properties |
|---|---|---|
| Polyurethane resin | Rigid parts (buildings, columns) | Hard, durable, fast‑curing |
| Flexible PU rubber | Trees, organic shapes | Flexible, impact‑resistant |
| Plaster | Terrain, single‑use casts | Cheap, absorbent, brittle |
| Wax | Temporary parts, investment casting | Reusable, melts easily |
| Low‑melt metal (Field’s metal) | Special effects, weights | Melts at 62°C, safe for silicone |
ForHigh Toughness Material Sand Table Modelcomponents, cast with tough polyurethane resin that resists breaking during transport and handling.
Two‑Part Molds for Complex Shapes
When a part has undercuts or requires detail on all sides, a two‑part mold is necessary.
Process:
Embed the master halfway in clay, leaving the other half exposed.
Pour the first half of the mold.
Remove the clay, apply release agent, and pour the second half.
The two mold halves align with registration keys (small bumps and depressions).
Two‑part molds are used for castingCustom Miniature Car For Sand Table Modelbodies, figurines, and any 3D object that is not flat.
Integrating Molded Components into Sand Table Models
Simulation Greening For Urban Sand Model
Molded trees are perfect forSimulation Greening For Urban Sand Model.
Create a master tree, make a silicone mold, and cast dozens of identical trees.
You can vary the paint colour after casting to create species diversity.
Sand Table Model Long Term Maintenance Plan
Having molds for key components simplifiesSand Table Model Long Term Maintenance Plan.
When a tree, column, or miniature car breaks, you can cast a replacement from the original mold.
No need to recreate the master – the mold is already there.
Urban Model Scene Layout Design
InUrban Model Scene Layout Design, repetitive components like streetlights, park benches, and bollards are cast in bulk.
This ensures consistency across the scene and reduces production time.
Case Study: Casting 200 Trees for a Golf Course Model
A resort developer needed a sand table model of a new golf course with hundreds of pine trees.
They used theArchitectural Model Mold Making Process:
A master pine tree was hand‑carved and painted.
A two‑part silicone mold was made.
200 trees were cast in flexible PU rubber.
Each tree was trimmed and dry‑brushed with highlights.
The trees were placed in pre‑drilled holes across the model.
The moulding process took two days; hand‑making 200 trees would have taken two weeks.
Maintaining Molds for Long‑Term Use
Silicone molds degrade over time.
To extend their life:
Store molds flat in a cool, dark place away from sunlight.
Do not stack heavy objects on them.
Dust with talcum powder before storage to prevent sticking.
Inspect for tears before each use.
ForSand Table Model Long Term Maintenance Plan, store master molds in a labelled box.
Years later, when a component breaks, you can cast a perfect replacement.
Sustainability in Mold Making
ForEco Friendly Material Architectural Modelprojects:
Use tin‑cure silicone rather than platinum‑cure (less toxic).
Cast with bio‑based polyurethane resins.
Reuse mold boxes and scrap material where possible.
Recycle plaster waste (crush and add to new plaster mixes).
Common Mold Making Mistakes
Air bubbles– Pour slowly from a corner; degas if necessary.
Incomplete filling– Ensure enough material is poured to cover the master.
Sticking parts– Use release agent for hard molds; silicone usually does not need it.
Undercuts locking the mold– Design masters with draft angles (slight taper) so the mold releases easily.
Future Trends in Mold Making
3D printed moulds– Directly print mold negatives, bypassing the master step.
Dual‑material casting– Rigid and flexible parts in one cast.
Magnetic alignment– No registration keys needed; magnets align two‑part molds.
Conclusion
TheArchitectural Model Mold Making Processtransforms labour‑intensive repetition into efficient, consistent production.
Ornate columns, repetitive roofline details, identical window frames, and multiple trees become easy.
UseArchitectural Model Prototype Developmentto refine masters before moulding.
PlanSand Table Model Exhibition Layout Designwith repetitive components cast in bulk.
CreateSimulation Greening For Urban Sand Modeltrees and shrubs from silicone moulds.
CastCustom Miniature Car For Sand Table Modelbodies for parking lots and streets.
Store moulds as part of yourSand Table Model Long Term Maintenance Plan.
Contact a model making specialist today.
Start reproducing your complex components.
Ready to implement the architectural model mold making process for your project? Request a consultation with your master patterns. Get a response within 48 hours.


