Car model production case
manufacturing process
1. 3D printing molding
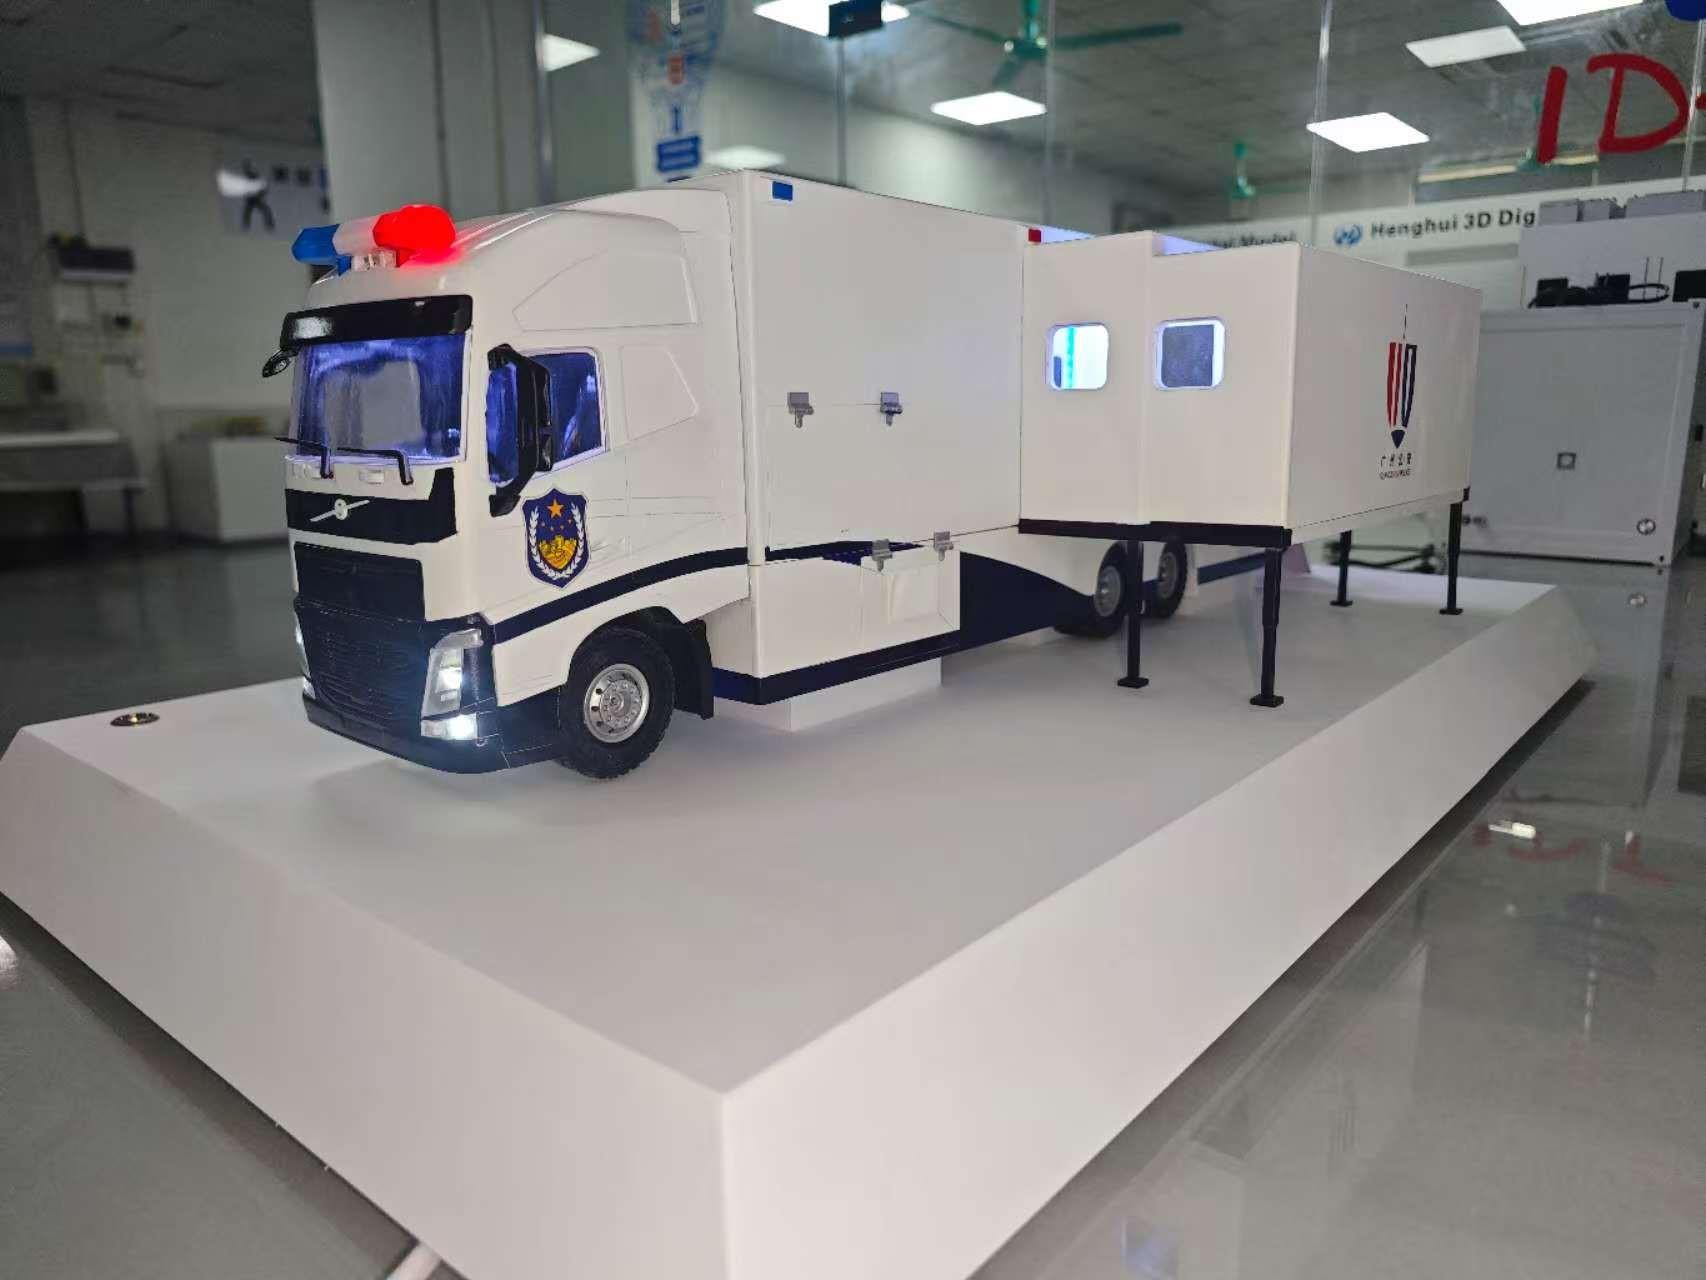
Firstly, generate a 3D model based on the vehicle prototype data, import the model file into an FDM printer, and select white PLA wire for printing the main body of the vehicle. During the printing process, attention should be paid to controlling the temperature of the printing platform to ensure that large components such as carriages and cabins are formed in one go, avoiding delamination and cracking. The streamlined surface of the front of the car is achieved through layer by layer stacking. After printing, the supporting structure is removed and the joints are polished with fine sandpaper until they are flat.
2. Production of detailed components
Small components such as car doors and rearview mirrors are printed separately and assembled after the main body is dry. The wheel sleeve is nested with metal sleeves to ensure smooth rotation of the wheel set. The roof warning light frame is formed by hot bending ABS sheet, embedded with LED light strips inside, and covered with red and blue transparent acrylic sheets outside, simulating the effect of warning lights.
3. Assembly and splicing
The cab and carriage are connected by a buckle structure, and the joint is bonded with special glue to ensure overall stability. Install metal counterweights on the chassis to lower the center of gravity of the model and prevent tipping. The car door adopts a hinge design, which can achieve opening and closing functions. The hinge is fixed with micro screws to avoid loosening.
Post processing and coloring
1. Surface pretreatment
The printed parts are first polished with 1000 grit sandpaper to remove layer patterns and burrs, and then wiped with alcohol to remove surface oil stains. For curved parts such as the cab, wet sanding with water sandpaper is used to improve smoothness. Metal parts need to be polished to expose their metallic luster.
2. Painting process
The main color is selected as matte white spray paint, with three thin sprays covering, with a 20 minute interval between each spray to avoid sagging. The front face of the car and the wheel arches are sprayed with black matte paint, creating a contrast. The door handles, fuel tank cap, and other details are hand-painted with silver metallic paint to enhance the three-dimensional effect. The red and blue areas of the roof warning lights are painted with cover paper to ensure clear boundaries.
3. Complete identification and details
The police badge, identification number and other markings on the side of the vehicle are made using water transfer printing technology, and after the transfer printing is completed, a layer of transparent protective paint is sprayed. Use a black marker to outline the border of the car window glass, and paste a miniature seat model inside. Mark anti slip patterns on the surface of the tire and dry sweep the gaps with black paint to simulate the wear effect.
4. Installation of lighting system
Drill holes at the positions of the roof warning lights and headlights, embed micro LED light beads, connect the battery box through thin wires, and hide them inside the carriage. The switch is set on the side of the chassis to control the flashing mode of the lights and restore the warning effect of a real service vehicle.
Model restoration degree
Through the above process, the model achieves a 90% restoration degree in appearance proportion, color matching, and functional details. The dashboard and steering wheel inside the cab are clearly visible, the doors can be flexibly opened and closed, and the warning lights can simulate alternating red and blue flashing. The overall design not only retains the rugged style of the prototype car, but also presents the texture and aura of a real vehicle through delicate painting and detail processing, suitable for static display or dynamic demonstration use.


