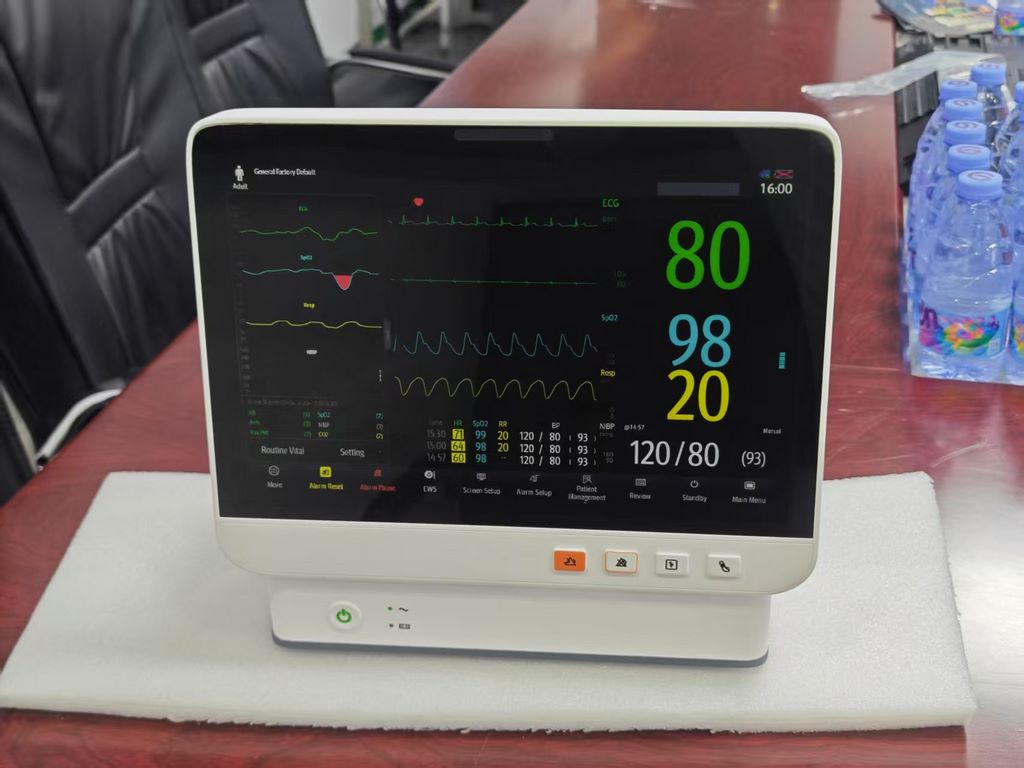
Analysis of the entire process of making an electrocardiogram detector model
1、 Material selection and pretreatment
Main structural materials
Using ABS engineering plastic board as the main material, its easy processing and wear-resistant characteristics are suitable for expressing the precision of medical devices. Six panels of the instrument casing are cut by laser, with a 0.2mm slot structure reserved at the joint.
The display area is made of transparent acrylic board, with a semi transparent film printed on the back that mimics the electrocardiogram pattern, simulating the dynamic display effect of real equipment.
Detail component processing
The knobs and buttons are made of 3D printed resin parts, with surface sandblasting to eliminate layer patterns, and CNC micro carving to enhance texture details.
The wire part is wrapped with copper wire and silicone tube, and micro magnetic joints are welded at both ends to ensure detachable display and avoid damaging the model.
2、 Key points of assembly process
Layered assembly method
Divide the model into three layers: basic framework, functional modules, and decorative components, and assemble them in sequence:
The frame layer uses UV glue to bond the panels, and is positioned with fixtures to ensure right angle accuracy
The module layer is equipped with built-in LED lights with simulated power indicator lights, which are uniformly illuminated through fiber optic guidance
The decorative layer is made of etched stainless steel sheet to create the brand logo, and the electroplating process enhances the metallic texture
Activity organization production
The retractable battery compartment adopts a hinge structure, and a 0.5mm deep limit groove is engraved on the ABS board
The probe holder uses memory alloy wire, which can be bent and shaped after heating, and maintains a preset curvature after cooling
3、 Coloring and aging techniques
Basic coating
The main color scheme uses Junshi GX-100 medical white as the base, mixed with a small amount of matting agent to avoid plastic feeling
Spray pearl blue on the control panel area and achieve a gradient effect through a cover film
Detail enhancement
Use a 00 point pen to outline the shadow of the dust plug at the interface
Dry scanning method highlights the metal wear marks on the edge of the knob
Old processing
Deposition of oil stains caused by the use of diluted enamel paint manufacturing equipment
Simulating the oxidation effect of electrode contact points by locally spraying rust solution
4、 Restoration control measures
Visual calibration
During the production phase, each completed module is compared with the original machine photos, with a focus on checking:
Consistency of grayscale transition between display screen and physical machine
Matching degree between button indentation depth and shadow relationship
Tactile verification
Invite medical practitioners to blindly test the damping sensation of knobs
Adjust the wire hardness to approach the tactile sensation of real equipment


